Create a Facebook Product Feed for Shopify in Minutes (Basic)
The Basic editor is the fastest way to create a Facebook product feed for your Shopify store. It's a short form — name, products, currency — and everything else gets a sensible default. Most merchants can go from "no feed" to "live feed URL" in a few minutes, and nothing here locks you in: you can switch the same feed to the Advanced editor at any time when you're ready for custom labels, filters, or image options. Here's the whole Basic flow, top to bottom.
Don't have Awesome Feeds yet? Install it from the Shopify App Store →
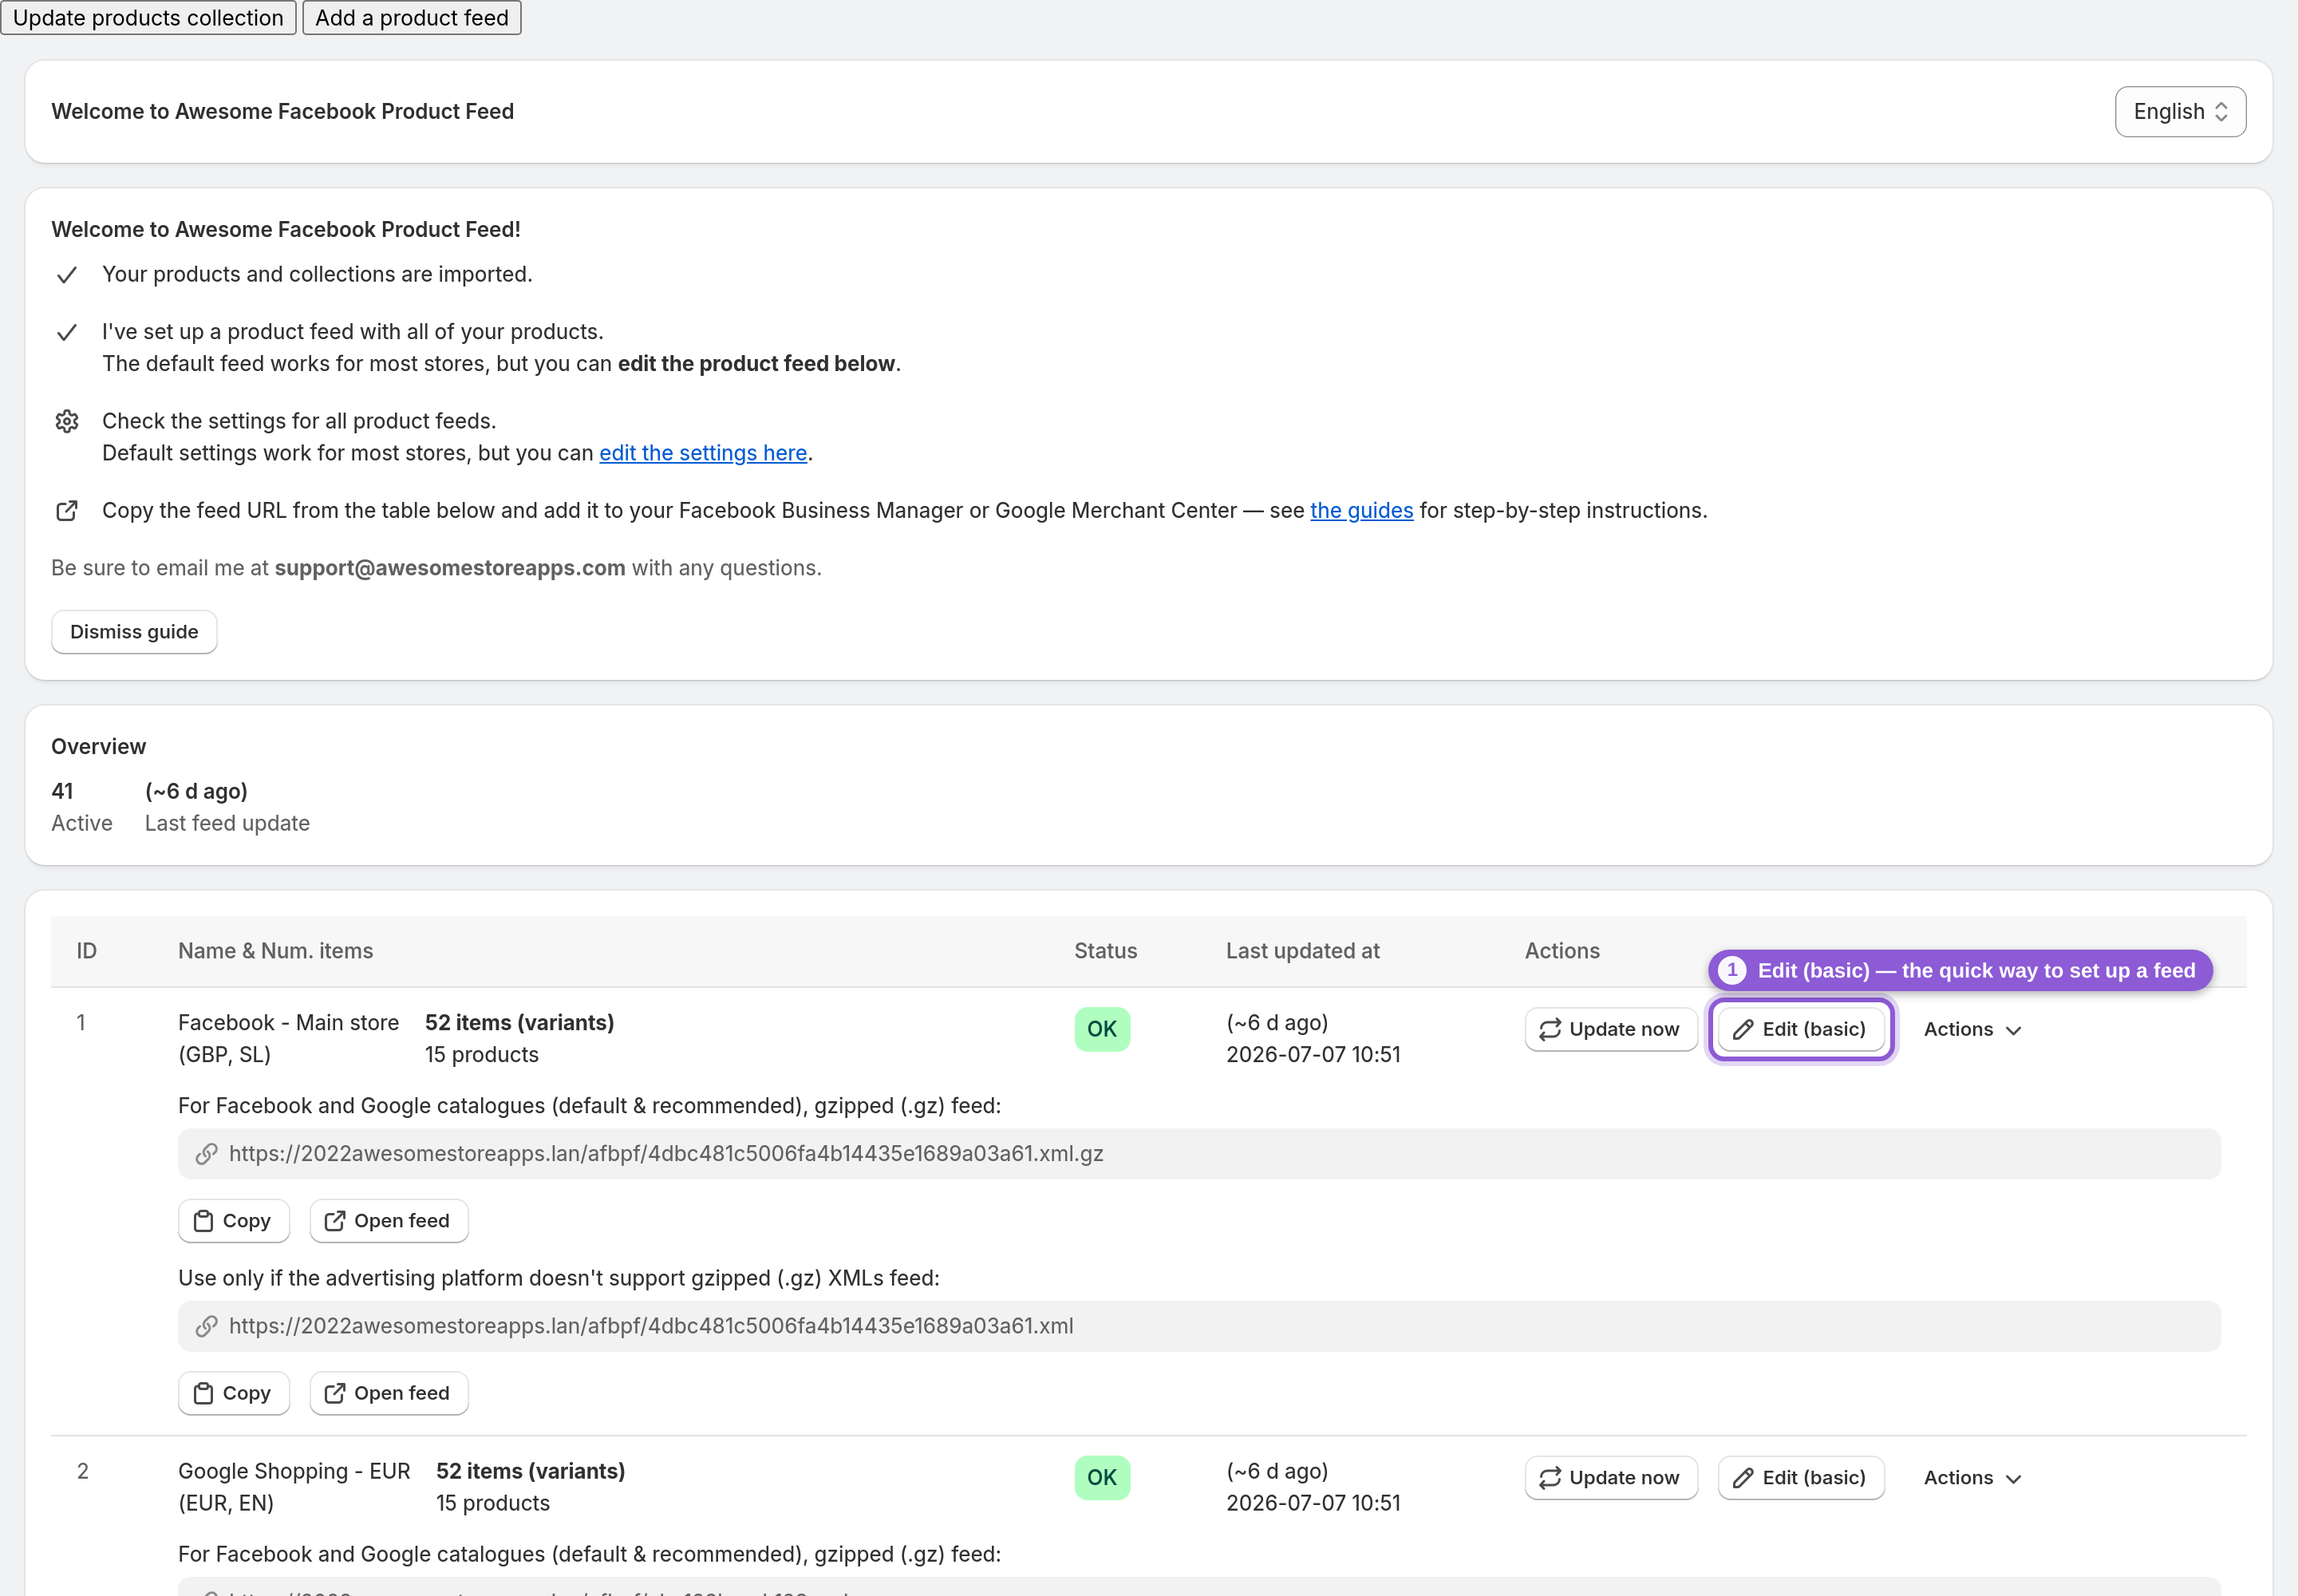
1 Open the Basic editor
From your dashboard, click Edit (basic) next to the feed you want to set up. Don't have a feed yet? Click Add a product feed first — a new feed appears instantly in the list. Inside the editor you'll also see a Switch to advanced link at the top; use it whenever you outgrow the short form. Both editors edit the same feed, so nothing is lost when you switch.
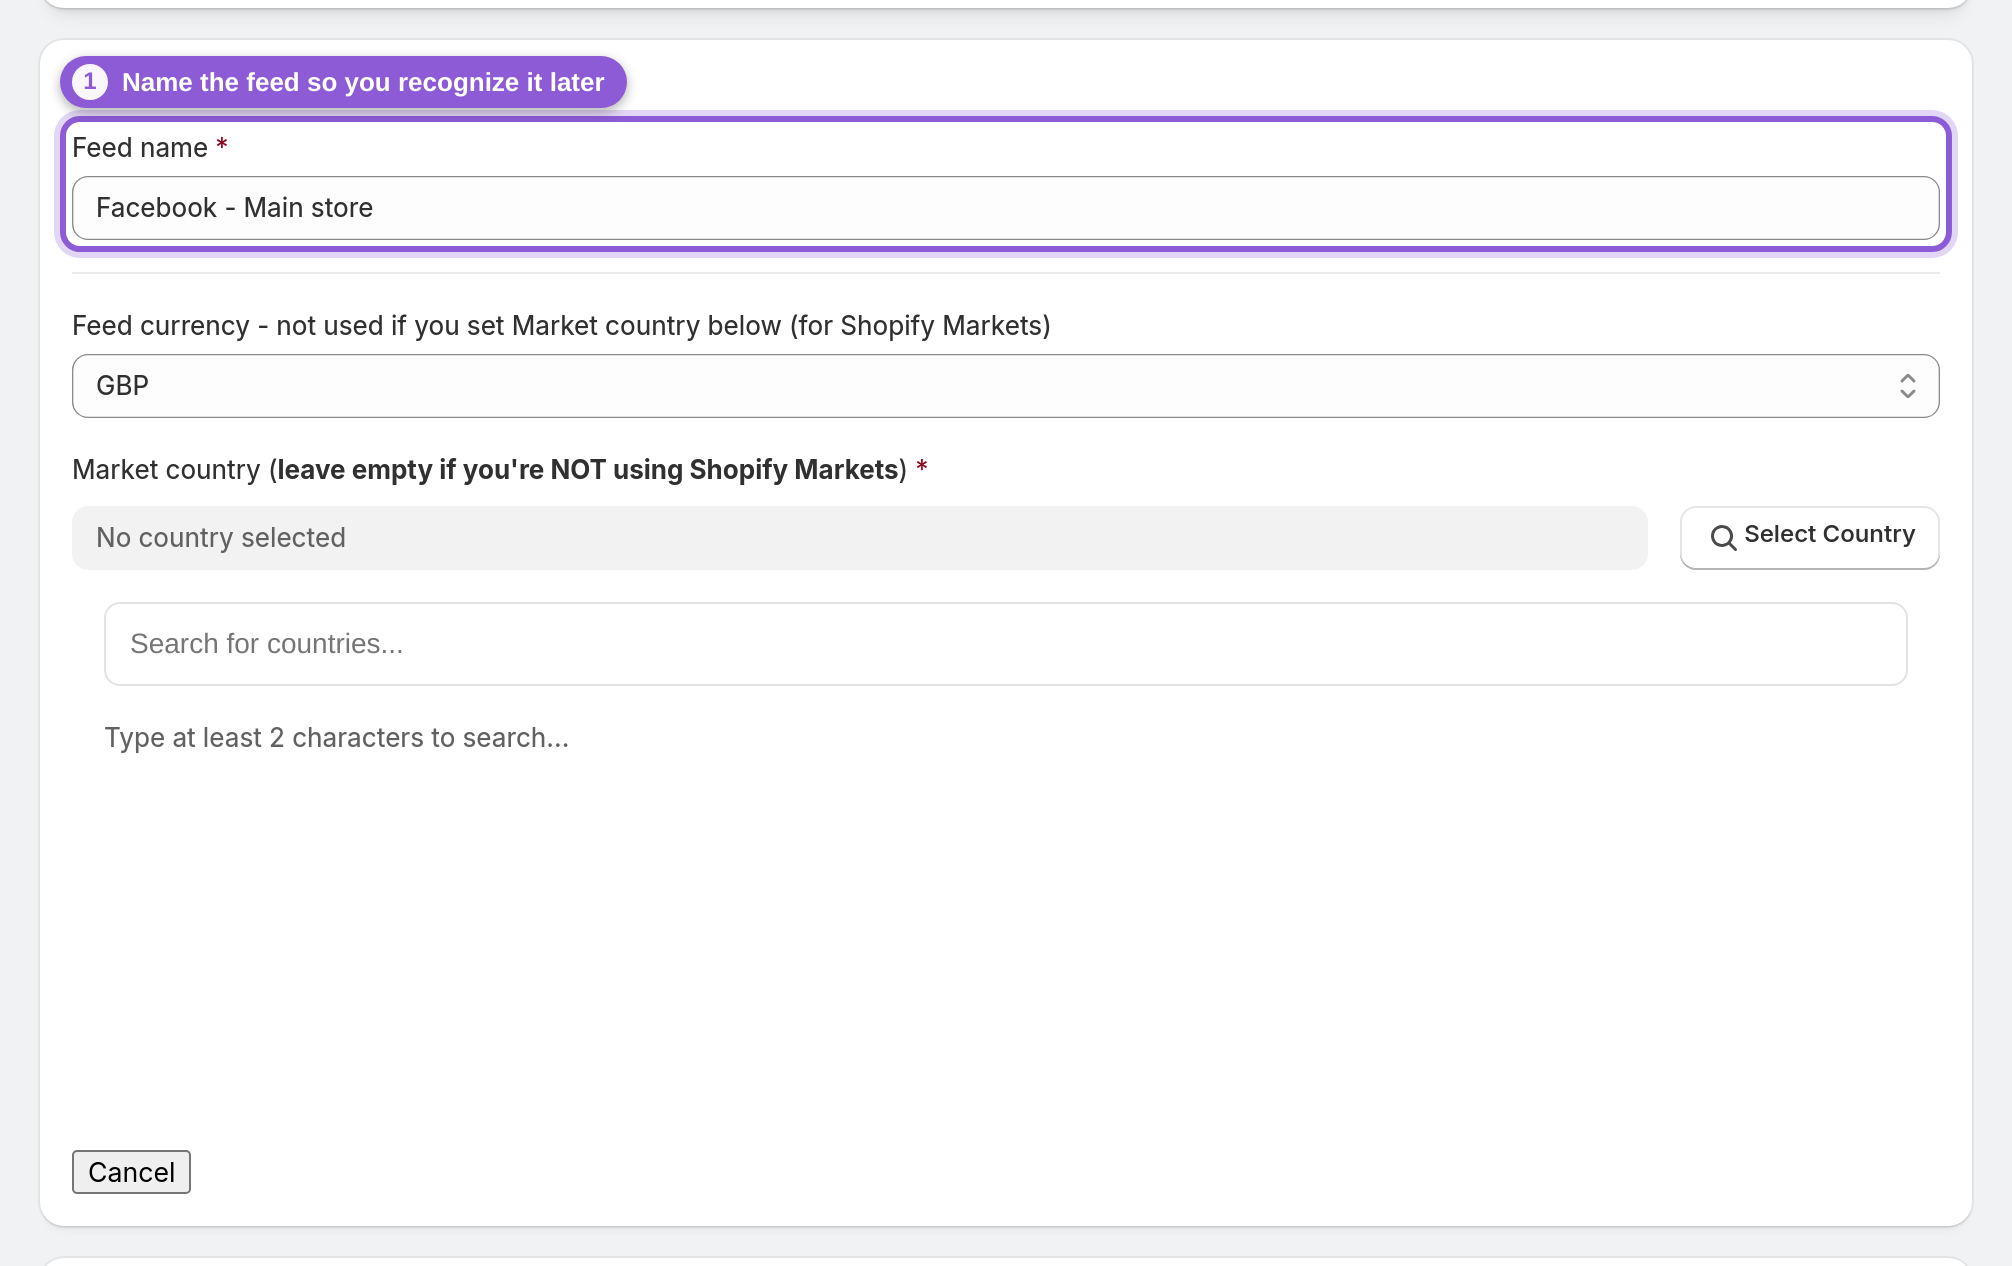
2 Name your feed
Give the feed a clear, recognizable name — "Facebook — US store" beats "Feed 1" once you're running more than one. The name is just for you; it never shows up in your ads or your catalog.
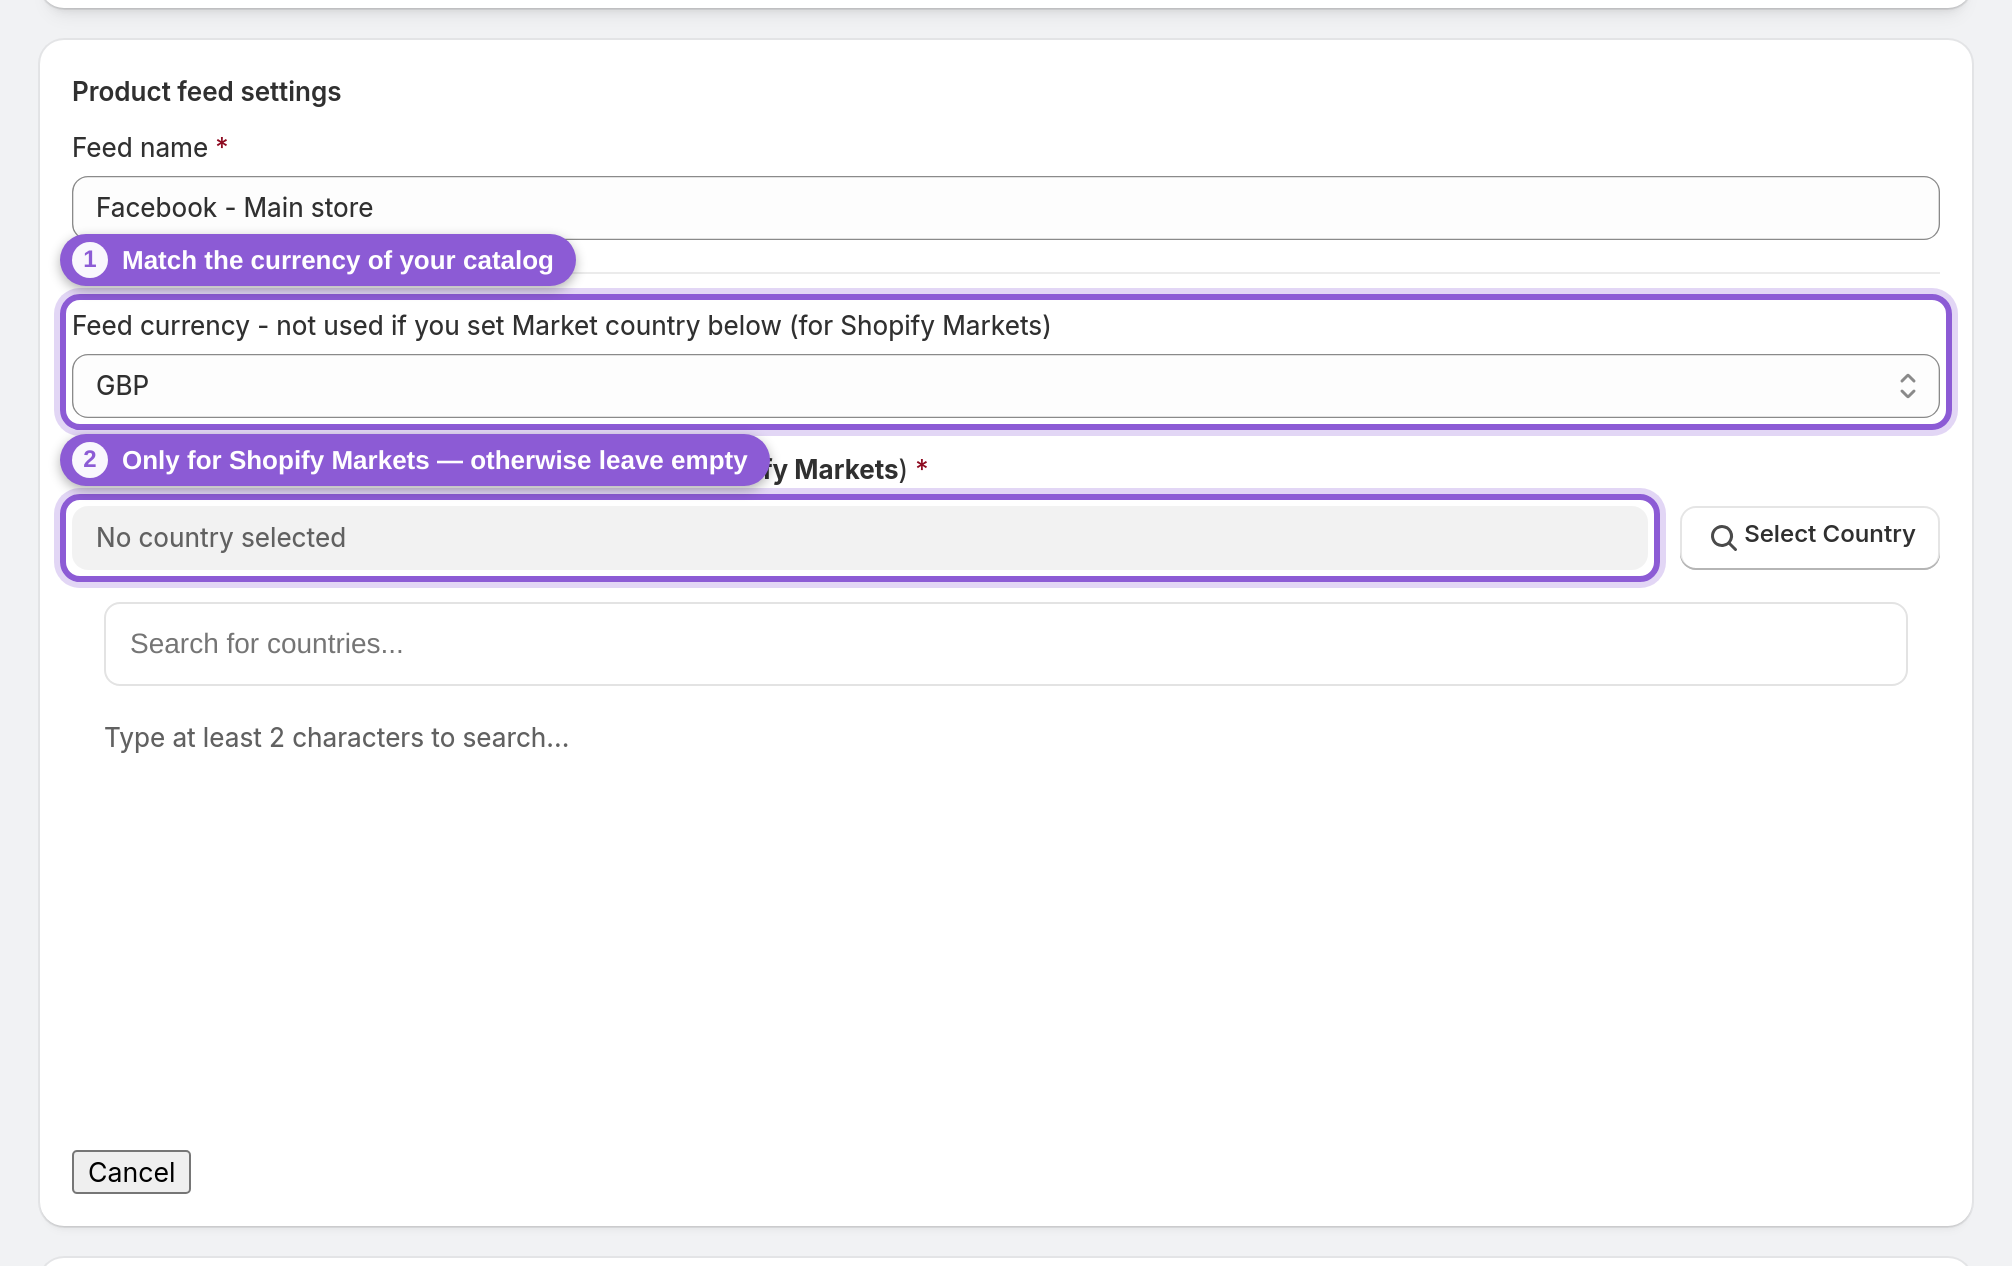
3 Set the currency (or let Shopify Markets drive it)
Set the feed currency to match the catalog you'll submit the feed to. If you sell internationally with Shopify Markets, do the opposite: pick a Market country and leave the currency alone — the market's own currency and pricing take over. Not using Markets? Leave the Market country empty. That's the whole rule.
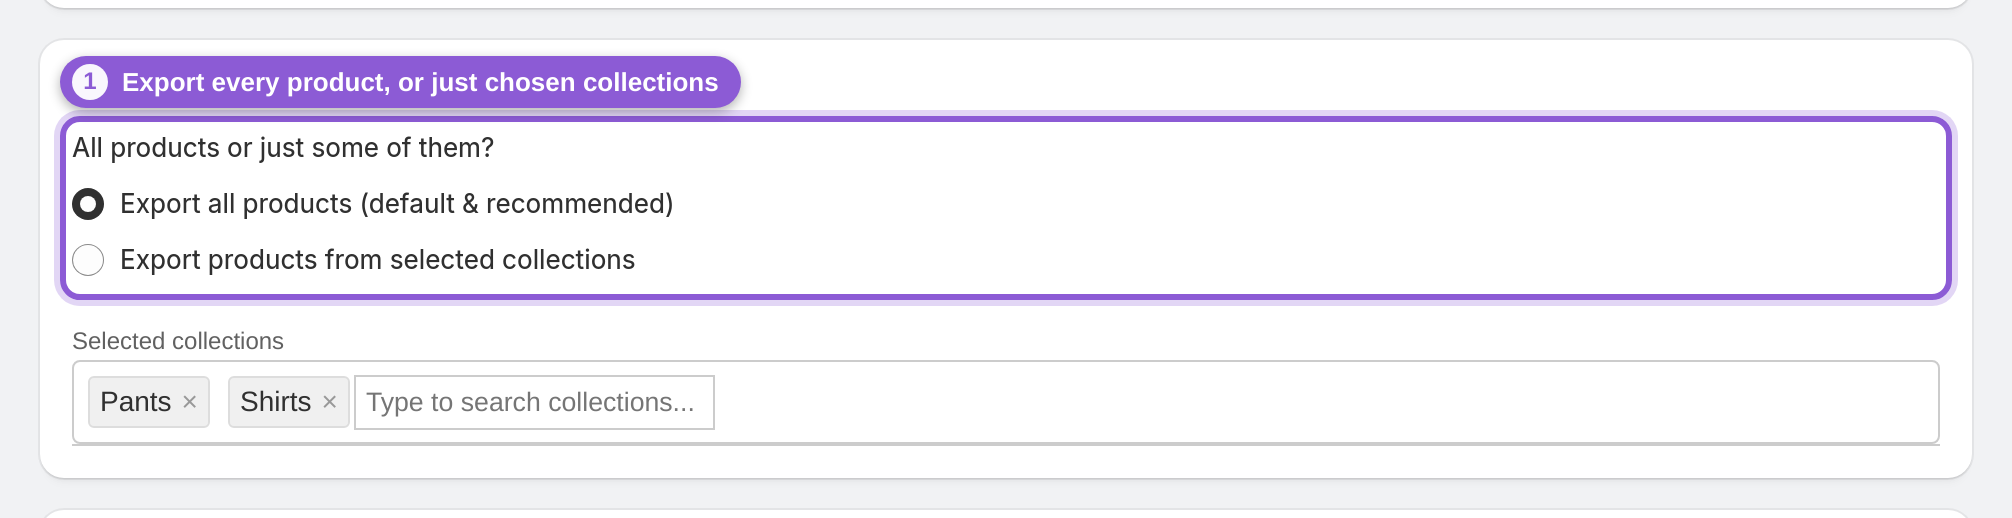
4 Choose which products to export
Export all products is the default and the right choice for most stores — your whole catalog, updated automatically. If you only want a subset (one brand, a seasonal range), switch to selected collections and a collection picker appears: start typing, pick your collections, and only their products make it into the feed.
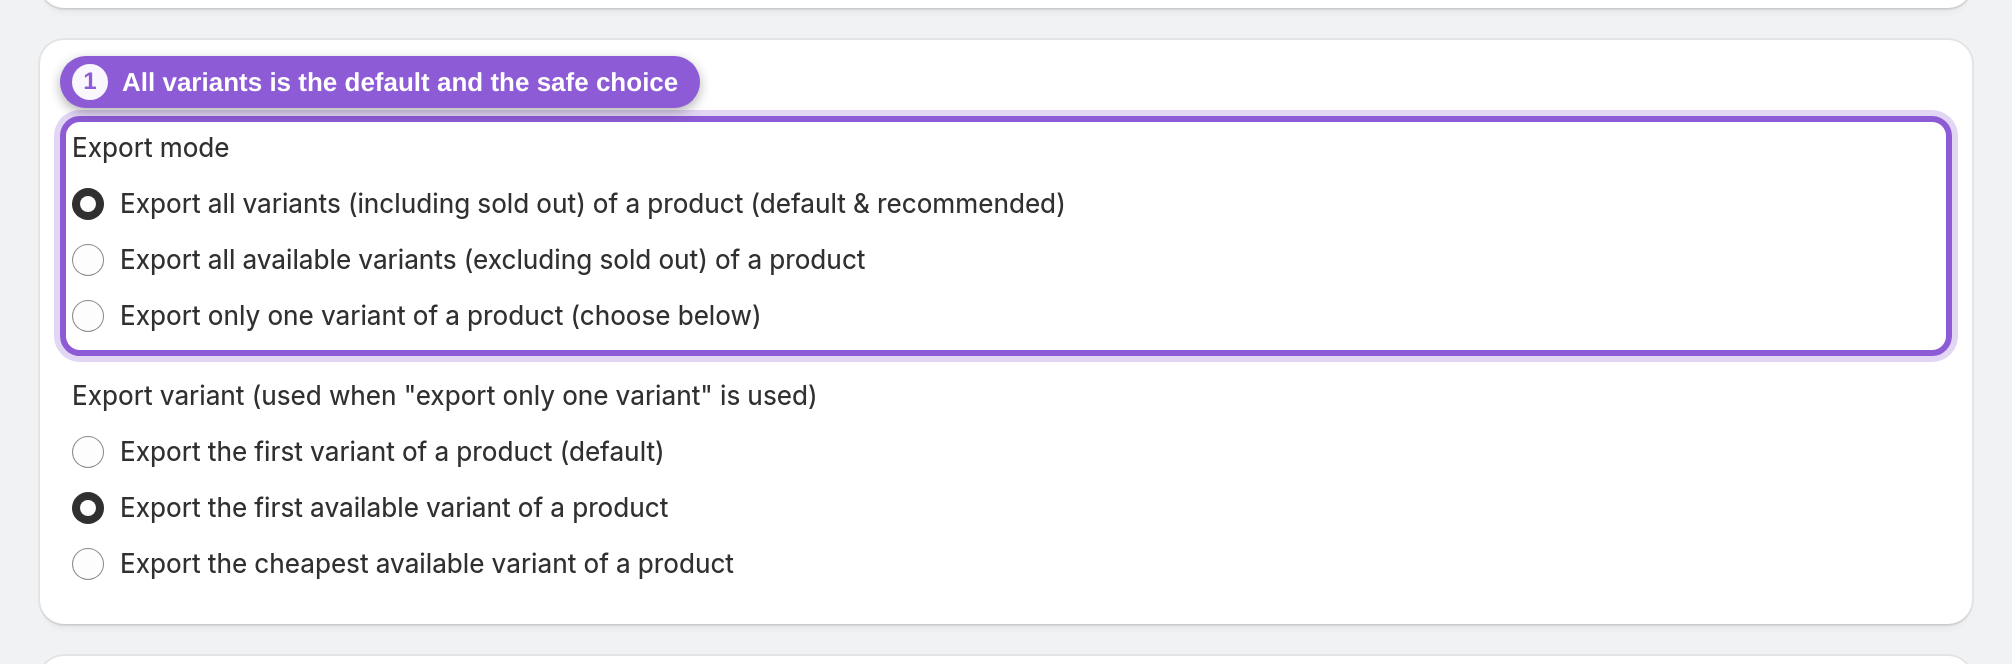
5 Decide how variants are exported
Export mode controls what each product contributes to the feed: every variant (default & recommended — sold-out ones included, so retargeting keeps working), only the in-stock variants, or a single representative variant per product. If you go the single-variant route, the second setting picks which one: the first, the first available, or the cheapest available.
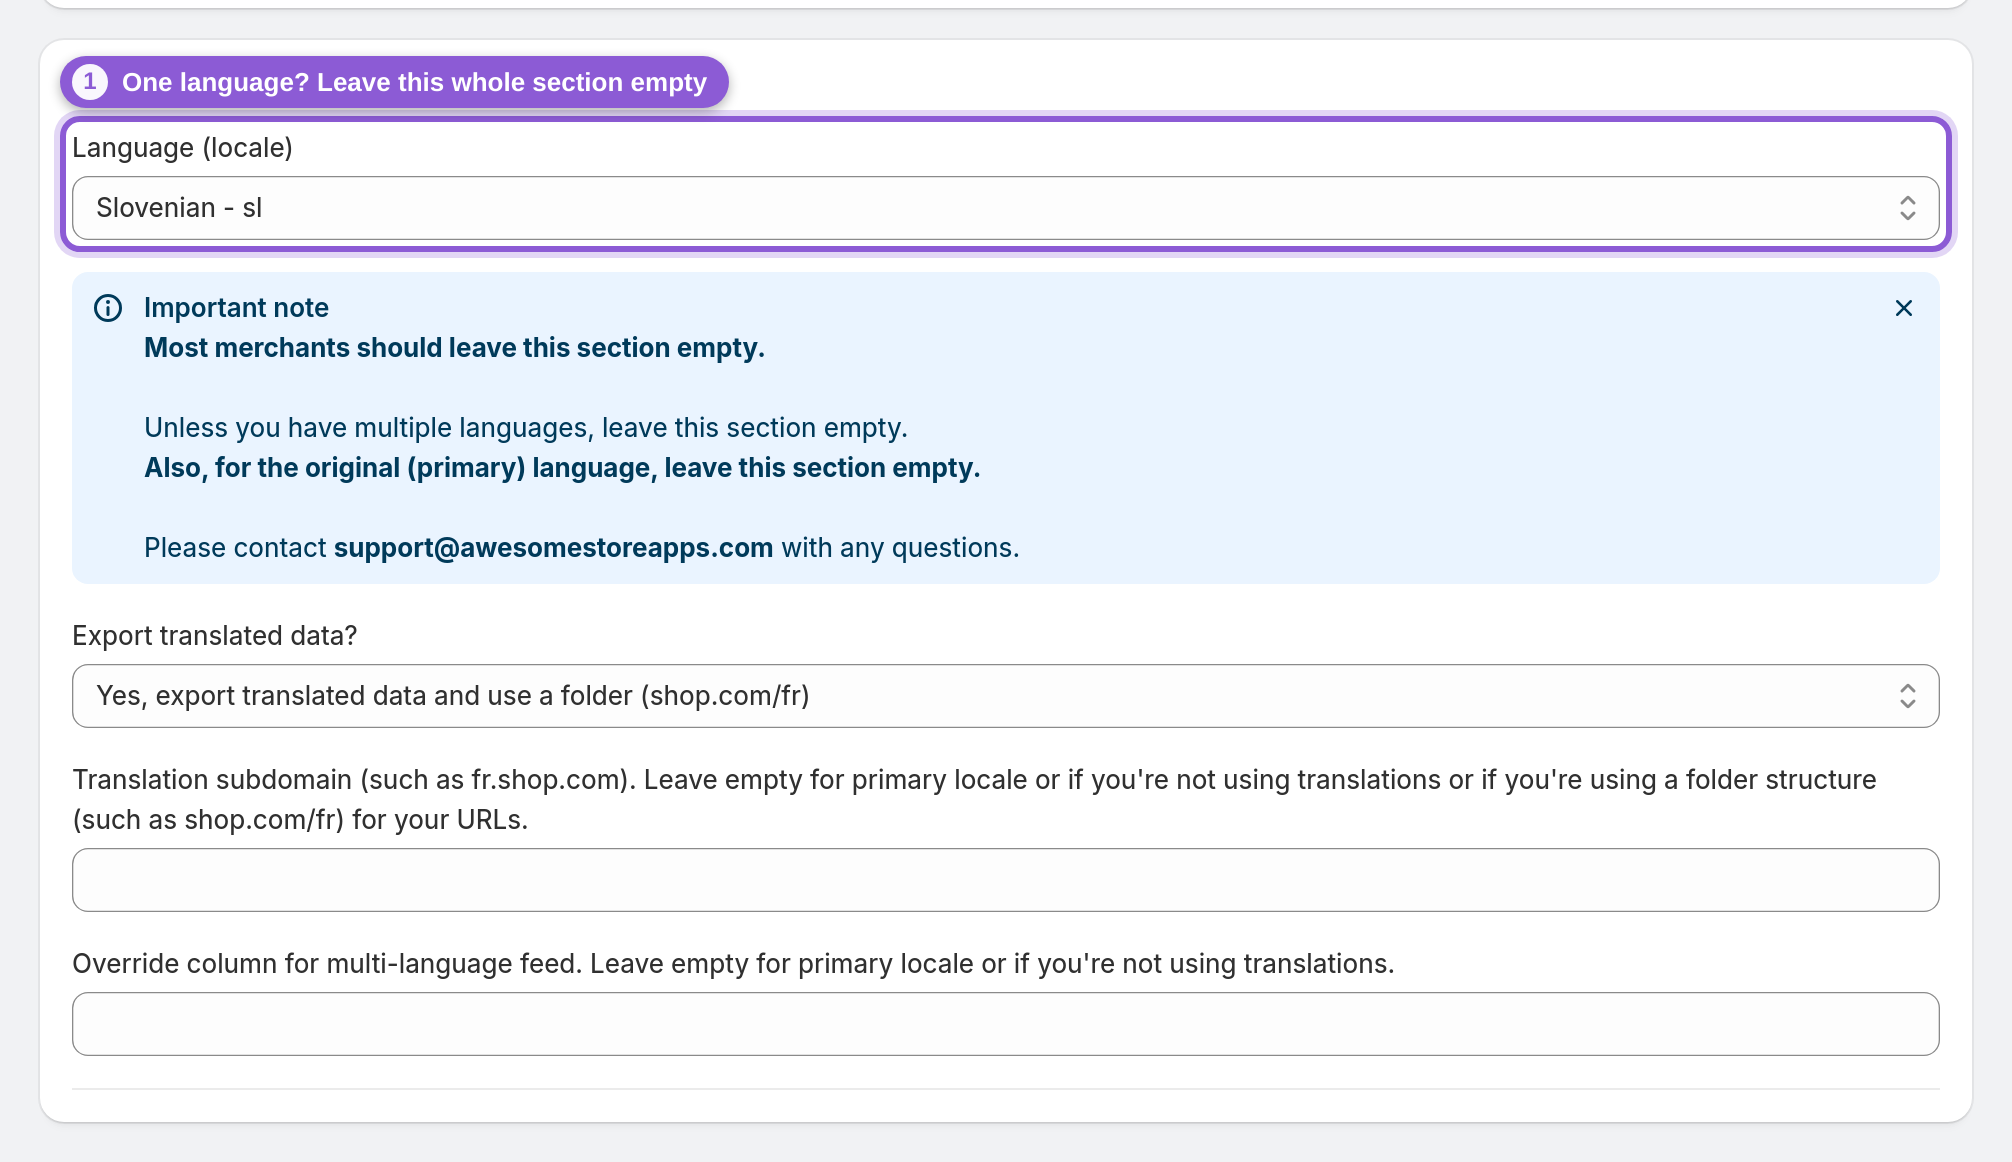
6 Multi-language stores (most can skip this)
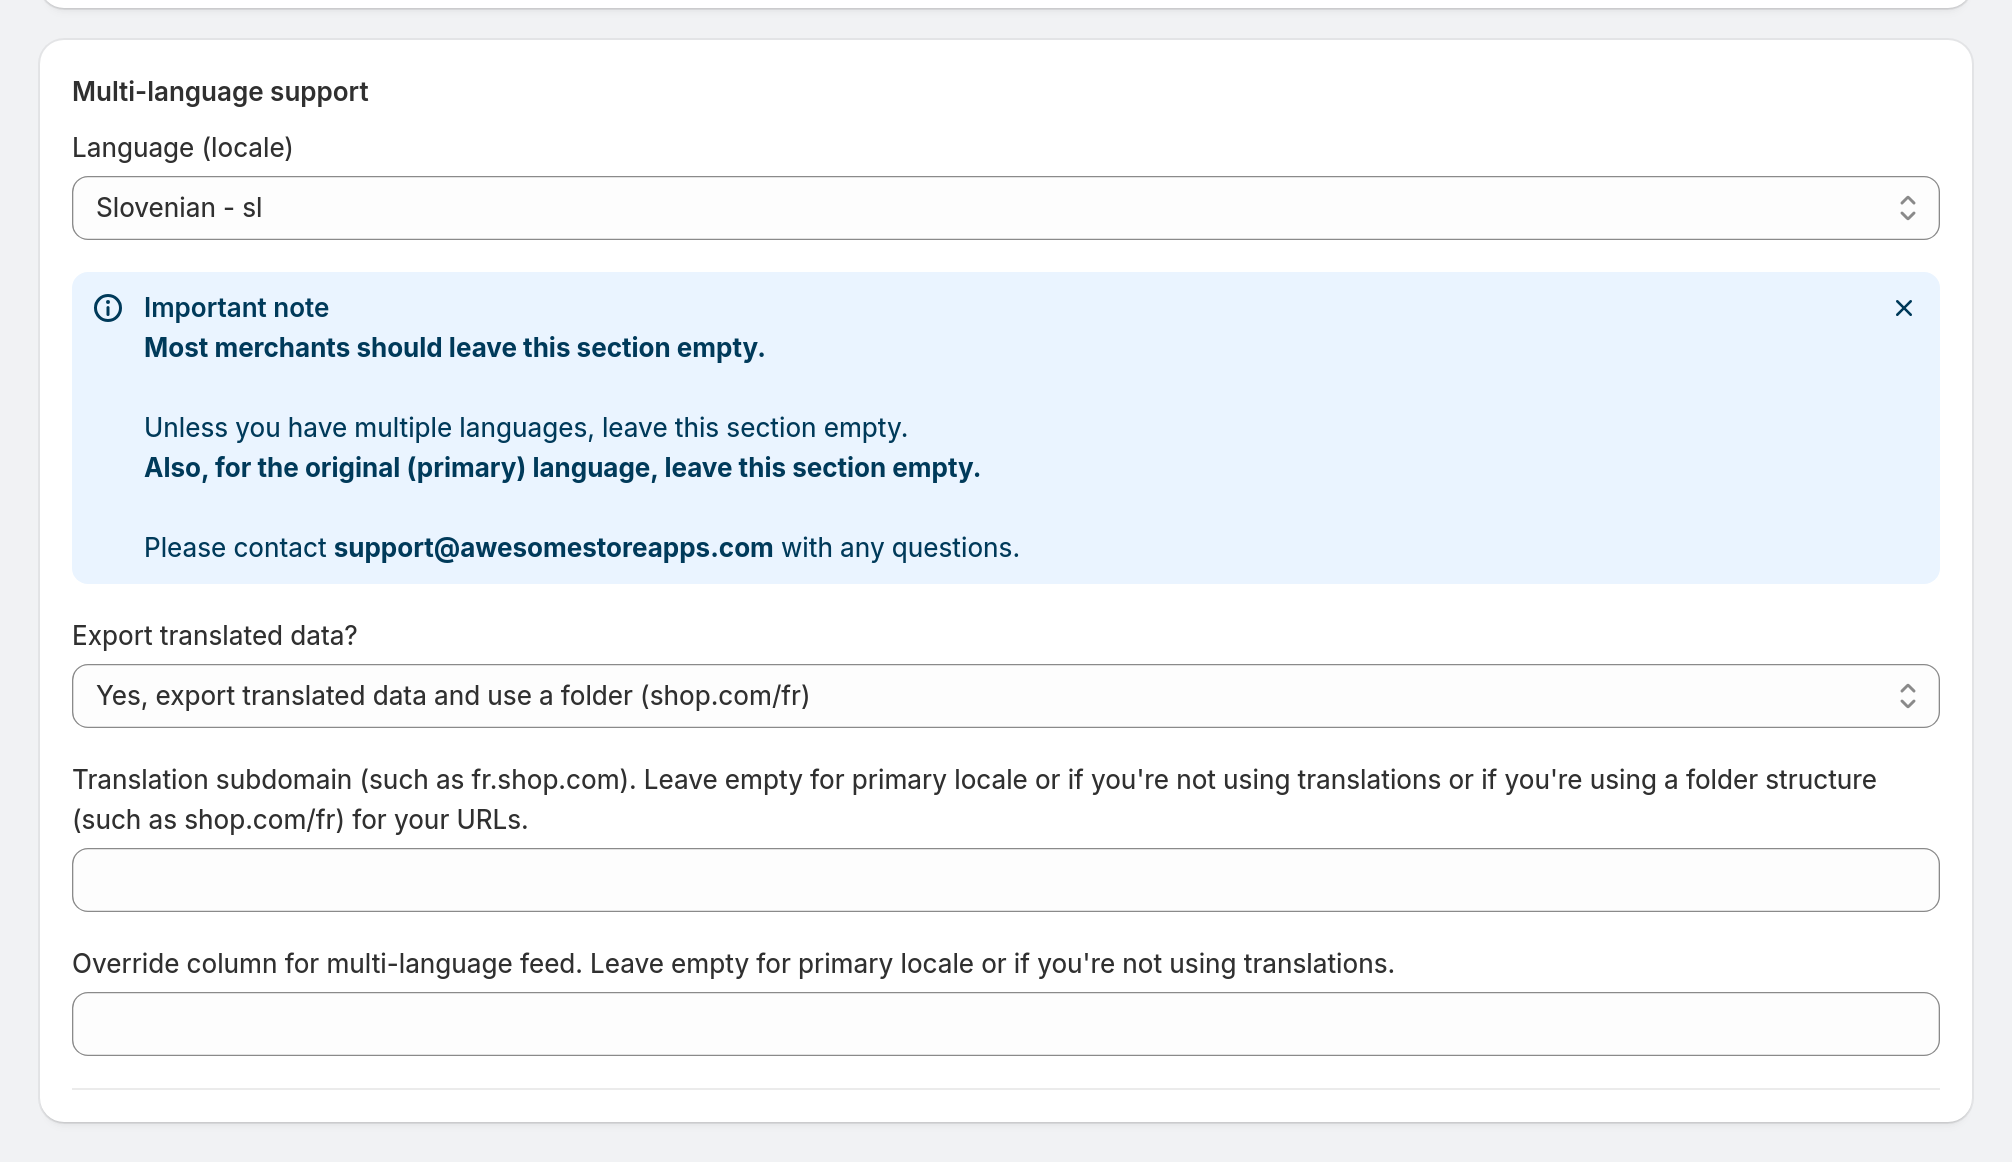
Selling in one language? Leave this section empty — the feed exports your store's primary language and you're done. If your store publishes translations, choose the language for this feed and how translated URLs are built on your storefront (subdomain like fr.shop.com, or folder like shop.com/fr), and create one feed per language. Each feed then carries the titles and descriptions from your existing Shopify translations for that language (the app doesn't translate anything itself).
7 Save and grab your feed URL
Hit Save. The feed generates automatically and keeps regenerating as your products change — no manual refreshing. Back on the dashboard you'll find the feed URL: copy it and add it as a scheduled data source in Meta Commerce Manager or Google Merchant Center, and your catalog is updated automatically from here on. That's it — your Shopify Facebook product feed is live.
Frequently asked questions
How do I create a Facebook product feed for my Shopify store?
Install the app, click Add a product feed on the dashboard, then open Edit (basic). Name the feed, set the currency, choose all products or selected collections, and hit Save — the app generates a feed URL you can submit to your Facebook catalog.
What's the difference between the Basic and Advanced editor?
The Basic editor is a short form with the essentials: name, currency, products, variants and language. The Advanced editor adds custom labels, variant filters, image transformation, UTM tracking and more. Both edit the same feed — use Switch to advanced anytime and your settings carry over.
Do I need to set a currency?
Set the feed currency to match the catalog you're submitting to — unless you use Shopify Markets. With Markets, pick the Market country instead and the market's currency and pricing apply automatically.
Can I export only some of my products?
Yes. In Product export settings choose 'Export products from selected collections' and pick the collections you want. Only products in those collections end up in the feed — handy for seasonal catalogs or single-brand campaigns.
Should I export all variants or just one per product?
Exporting all variants (the default) is right for most stores — each variant becomes its own catalog item with its own price and availability, which is what dynamic ads expect. Export a single variant only if your variants are effectively duplicates.
Does the feed update automatically when my products change?
Yes. The feed rebuilds automatically after your products, prices, inventory or collections change (not instantly; bigger feeds wait longer between rebuilds), and Facebook or Google re-fetch it automatically once you've added the feed URL as a scheduled data source. You never re-upload anything by hand.
Can I create feeds in different languages?
Yes — if your Shopify store publishes translations. In the Multi-language section pick the language for the feed and how translated URLs are built (subdomain or folder), then create one feed per language.
Where do I put the feed URL once the feed is saved?
Copy the feed URL from the dashboard and add it as a scheduled data source: in Meta Commerce Manager for Facebook and Instagram, or in Google Merchant Center for Google Shopping. The platform then re-fetches the feed on its own schedule.